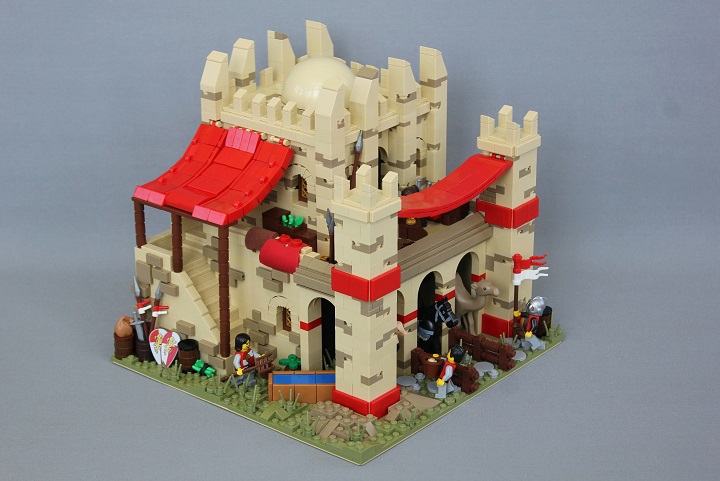
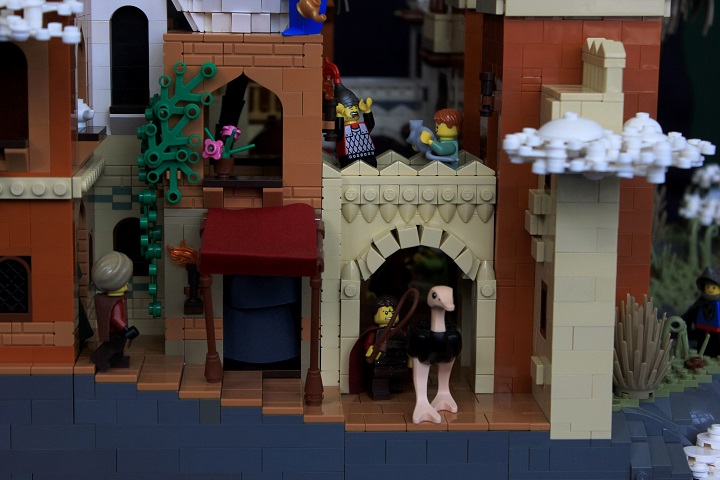
It’s already been over a year since my first Middle Eastern tutorial, how the time flies. This installment covers two arch designs, and two awning techniques.
We’ll begin with the simplest design of the lot: a clean arch design with one plate thick outline.
Some stacks of 1×1 brick with stud and 1×1 plates start things off.

And then 1×6 tiles can be attached easily.

To continue the tan outline over the arch, you can attach 1×1 plates to the underside of a 1x6x2 arch.

Which then fits smoothly over the SNOT tiles giving an elegant doorway or gallery setup.

Next up is an awning design I used in my Age of Empires Stables MOC. Plates with clip, and plates with handle are the essential parts that make up the skeleton of the awning.

As you can see, I snuck a few black plates with handle in as I didn’t have enough in red. Just so long as that side of the awning is facing away from camera, or up against a building, the black parts won’t be visible.

The finishing step is adding 1×2 tiles to the exposed studs. Since 1×2 tiles have no center tube, they can be slid to fit together nicely.

The red clips on the right end I then hooked onto a bar to attach the awning to a building.

Here’s an alternative awning design that I used in combination with the previous technique. It starts off with some 1×2 bricks with 1×2 tiles attached to the bottom via technic half pins.

I used five of these sections, though depending on your desired awning size you could just add or remove a few sections.

Plate hinges will hook all these 1×2 assemblies together and allow them to curve.

A second layer of plate hinges gets all the sections hooked together.

And then you can simply cap off the exposed studs with 1×2 tiles once it is as wide as you need.

Again, I used the clip left on the end to attach it to a building.

Here’s what they look like in a build:

For our fourth design we’ll cover a neat arch design that was inspired by Mark of Falworth’s Grand Bazaar.
Once again it starts with some 1×1 columns incorporating 1×1 brick with stud to attach a SNOT assembly.

A 1×8 arch connects the columns.


Next you will be adding some SNOT bricks to the underside of the arch via headlight bricks.

You could easily switch out the quarter circle tiles for regular 1×1 tiles if you like.

By making two of these arches and then connecting them with 4×6 plates, I made a small bridge between a couple of the buildings in The Fabled Fortress of Al-Danah.

Dark brown tiles were used for the actual walkway, while brick with stud allowed me to put on a layer of SNOT tooth plates.

Some plate with rail fit nicely over top of those.

And then I finished it with cheese slopes.

Hopefully these designs can be of use for your own models, and feel free to let us know if you have any questions on the techniques.


