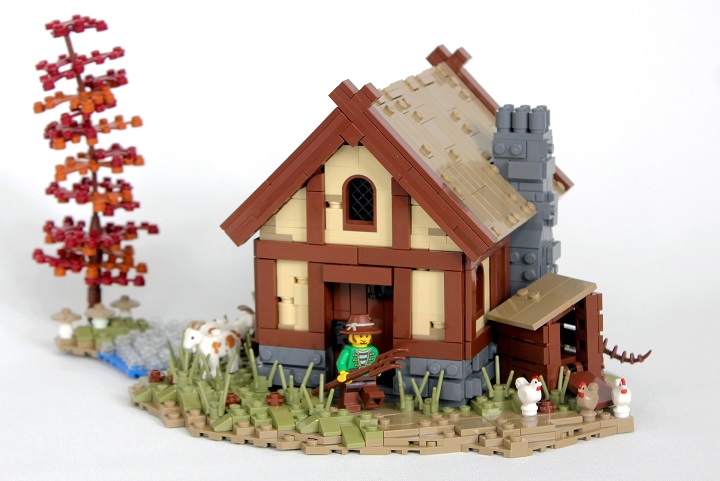
This post covers my typical method for angling buildings on landscapes.
I start off by using a few plates or a turn table to setup the building at the angle I want. If using plates like here, I just experiment with different placements until I find a couple connection points.
When using a turn table we usually use just one – as that gives a four stud connection. And the building in that case will be locked in place by surrounding plates on the landscape.

Double check the building is where you want.

Then start placing tiles around the outer edge of the building. Ideally they should match the color of the landscape, though here I didn’t have many olive green tiles so used dark tan to match the dirt color instead.

Match the outline of the building as closely as you can with the tiles. This process usually involves removing the building, placing a few tiles, putting it back and checking the fit.

And then you should have something like this.

The middle of the tiled area can be filled with what ever color tile you want.

Then build the landscape like you normally would – fitting plates as closely as possible around the building. Adding a second layer of plates fairly often helps conceal the tiles.


Then use some plants to really hide the transition.

Allowing for a very smooth fit without any visible gaps even when the building is angled!

I use this technique all the time, and hope it’s helpful for you all.
Leave a comment letting us know what other techniques you want to see explained in future tutorials.


very nice, TY. I’ll give it a try.