Still looking for more furniture designs? This installment covers some Elvish chairs, a table, and bench.

We’ll start off with small chair design. The base is simply a 2×2 tile with four 1×1 round plates attached on the bottom.
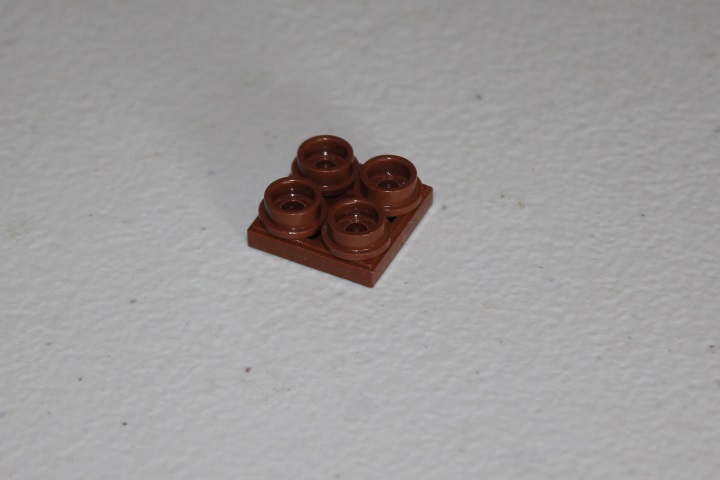
A 2×2 bracket attached to the plate rounds makes up the seat of the chair, and the two studs will make it easy to attach the back.

Use another 2×2 tile and a 1×2 plate with rail to finish off the back, and you have a nice chair.

Next up is a fairly ornate table. You can make this in whatever length you want by adding more 2×3 plates to the bottom, but in this tutorial we just did a 6-long version.

The legs are composed of Ninjago horn elements attached to 1×2 plates with horizontal clip.

Connect the clip and horn assembly to the middle of the 2×3 plates, and the table is completed!

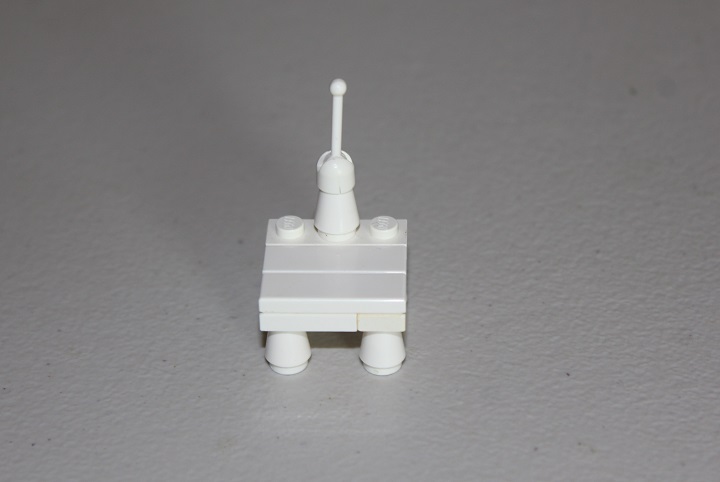
Moving on to an Elvish piece of furniture, we have another chair. The base consists of merely a 1×3 plate and a 2×3 plate.
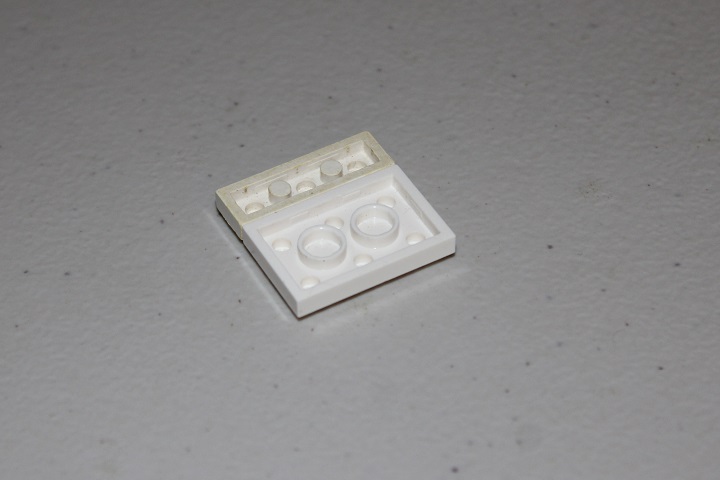
I use cones for the legs, but there are probably other parts that would work just as well, like fez pieces or brick rounds.
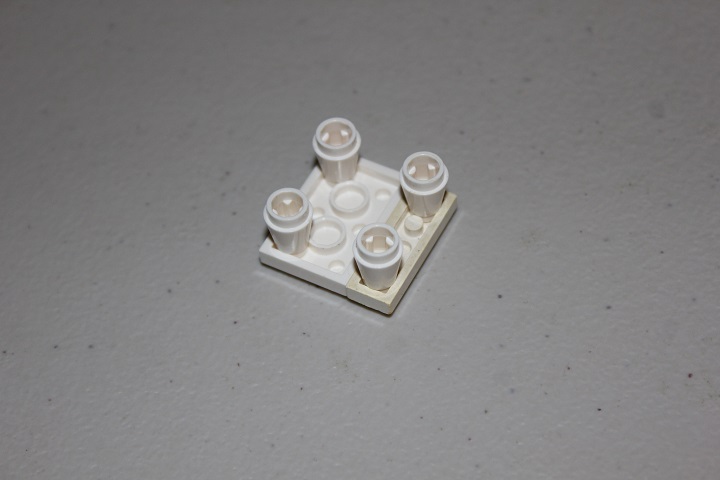
Add a few 1×3 tiles to the top, and a 1×3 plate to attach the back assembly.
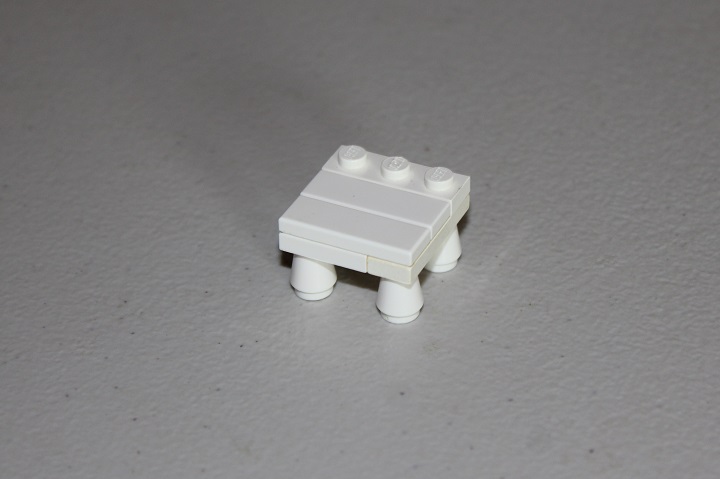
A cone with lever on top works nicely for the middle section.
And for the sides I use long cow horns stuck into cones to give an interesting shape to the chair.
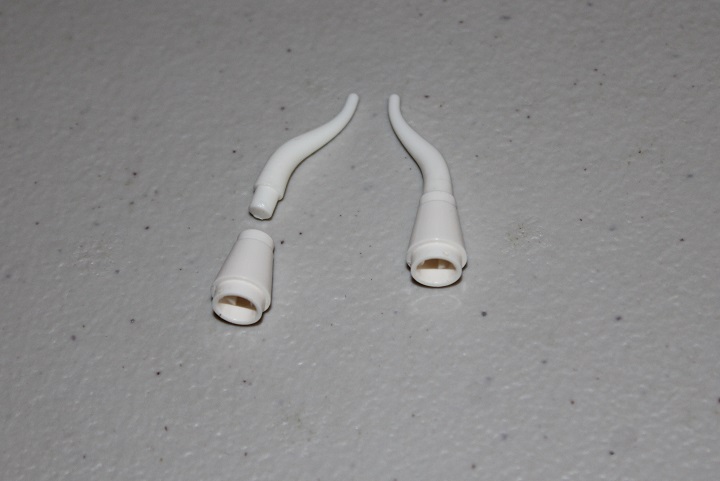
Here is the completed assembly.

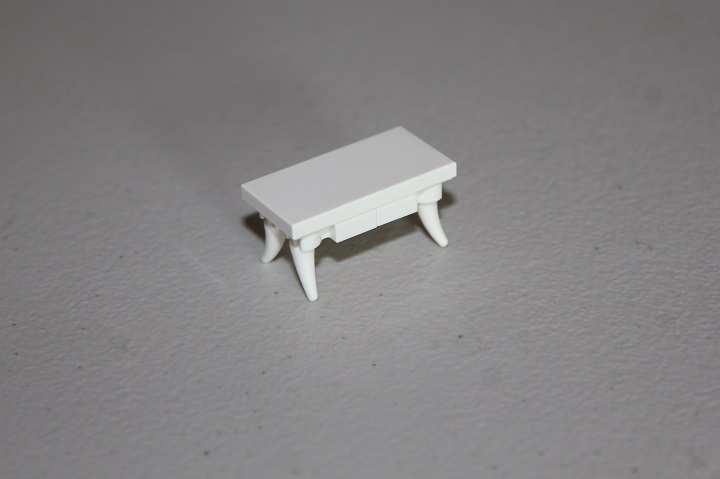
And lastly, a small bench. You could change the colors on this if you wanted, but I used white here. All you need are a few 1×1 plates with vertical clips, some small cow horn parts, and a 2×4 tile.

And there you go! A nice little bench.
We hope you enjoyed this tutorial, and as always, let us know if you have suggestions for future tutorials in the comments section below!


Nice! I really need to get these ninjago horn elements! It seems like they work great for furniture! Thanks for the tutorial! 😀
Awesome, that white throne definitely stands out!