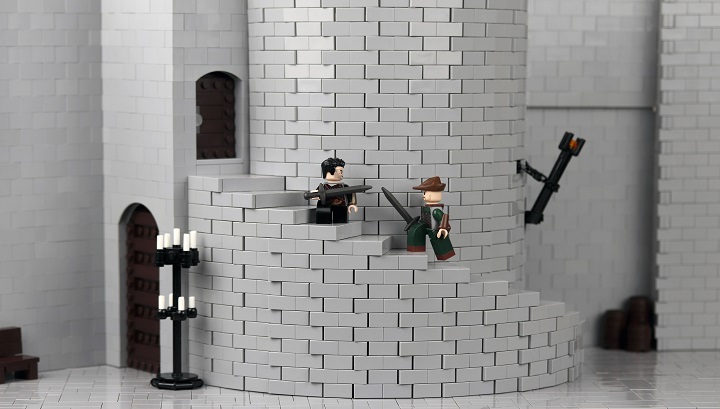
This month Eggy Pop shares a very smooth round wall technique. Check out the full post to find out how it’s done!
Step 1 – Part List
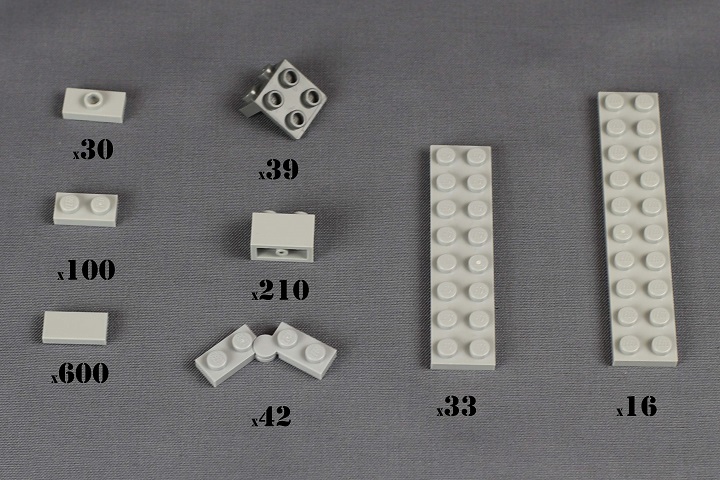
“The part-count shown is to build a half-wall that is 26 studs high, so it is really quite 2×1 tile intensive. While usually I order parts from Bricklink, in this instance I found that the online LEGO store pick-a-brick was the cheapest way at $0.07/tile.
Step 2 – Foundation
Other than the 2×1 tiles, all of the parts shown in step 1 will be hidden and therefore can be of any color. This makes it relatively easy to use existing pieces in your collection. I’ve chosen a different unique color for each part type to make the instructions a bit easier to follow.
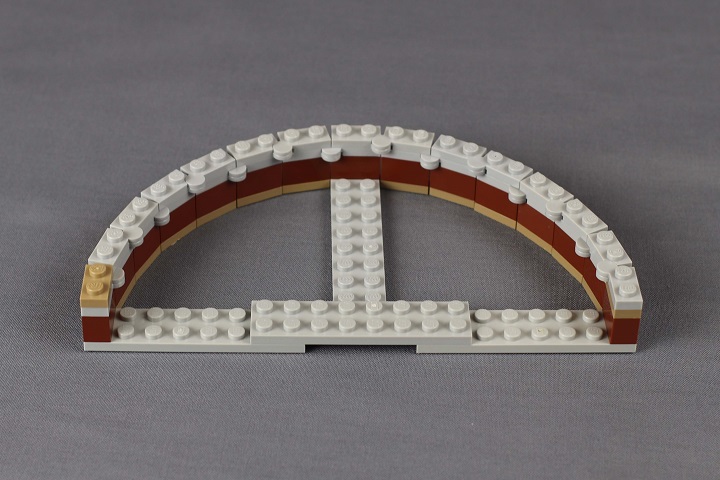
Step 3 – Brackets
Note that every 6th wall section will not have a bracket.
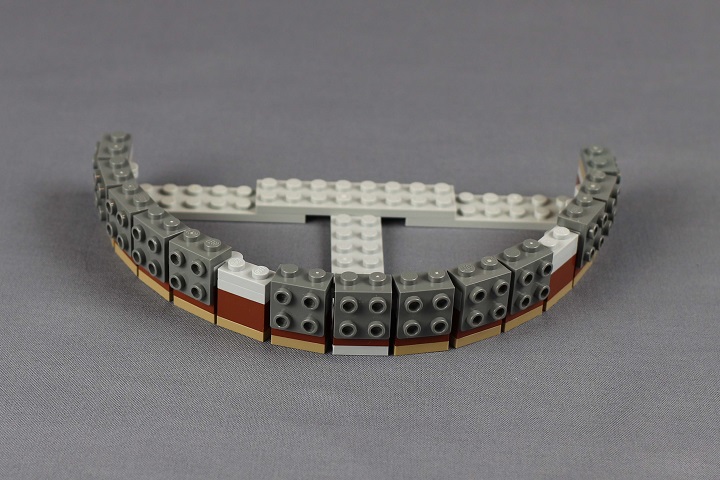
Step 4 – Wall Interior
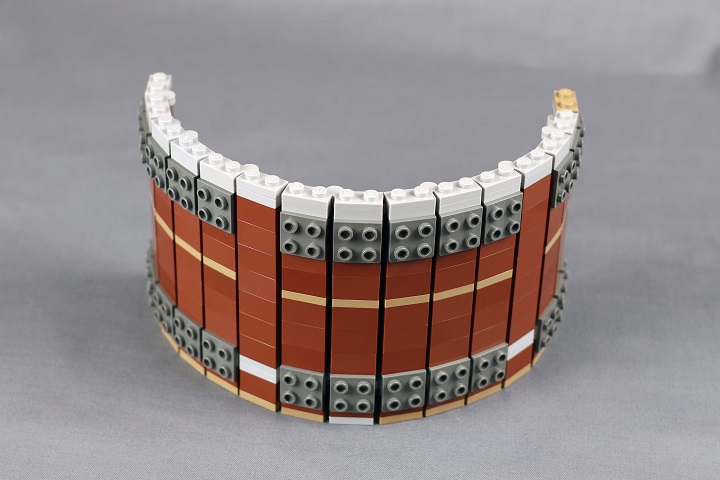
Step 5 – Jumpers
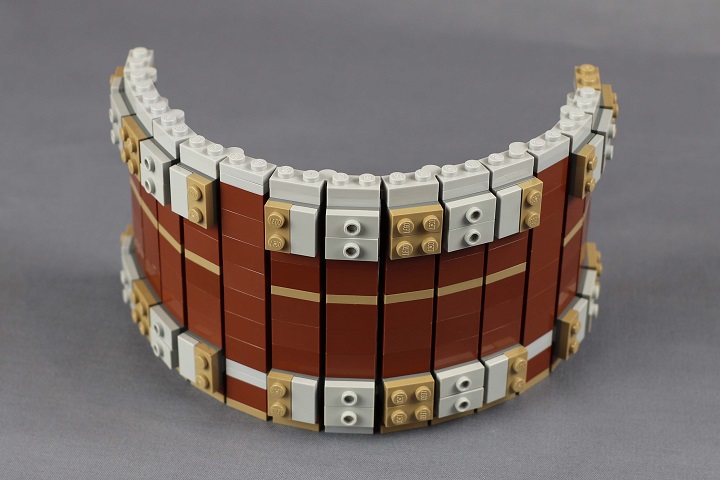
Step 6 – Plates
I’m only showing the 2×10 placement. When making the wall taller, a 2×8 plate is used for the bracket to bracket repeat section.
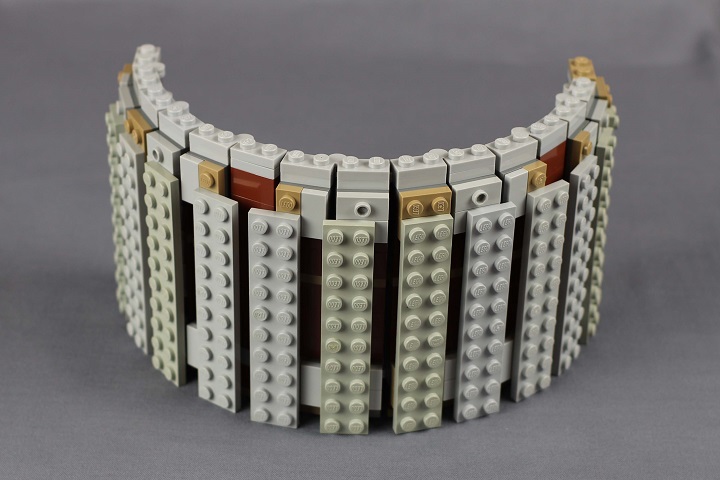
Step 7 – Tiles
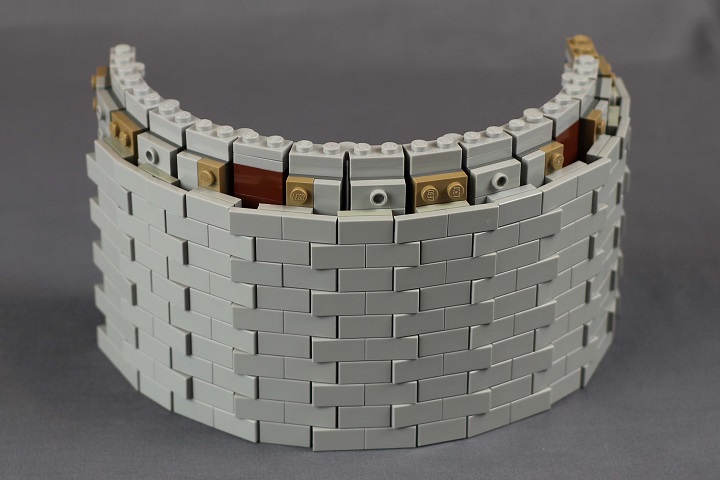
Step 8 – Stairs
Note that there are plates on the back end of the stairs. These are being used to fine tune the stair depth. On some stairs, I will use a 3×1 plate depending on how the surrounding tiles are made.
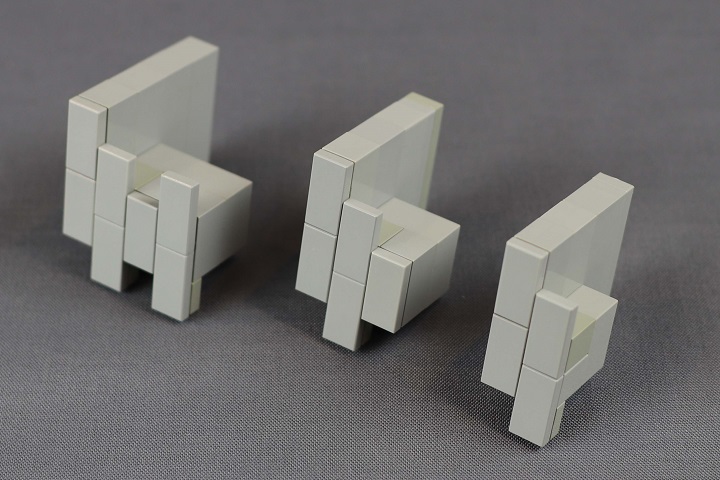
Step 9 – Stair Placement
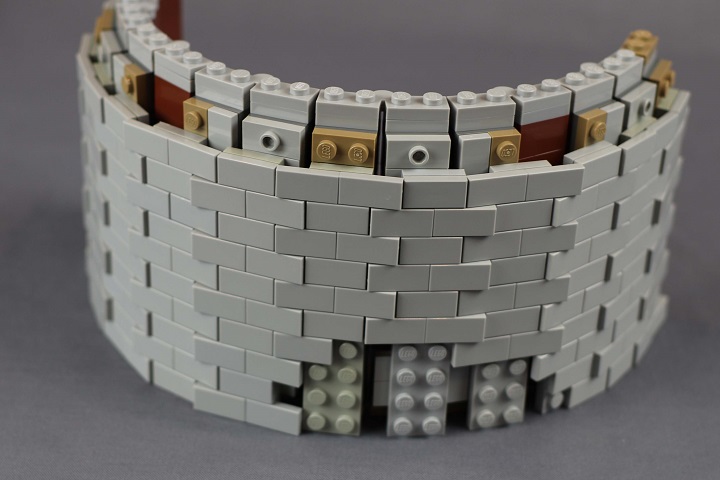
Step 10 – Stairs Connected
Once the stairs are connected, a 1×1 tile can be used to fill in the uncovered wall section. I’ve found it a bit smoother to use a 2×1 tile, and on the stair to use a 1×3 plate to connect it to the wall.”
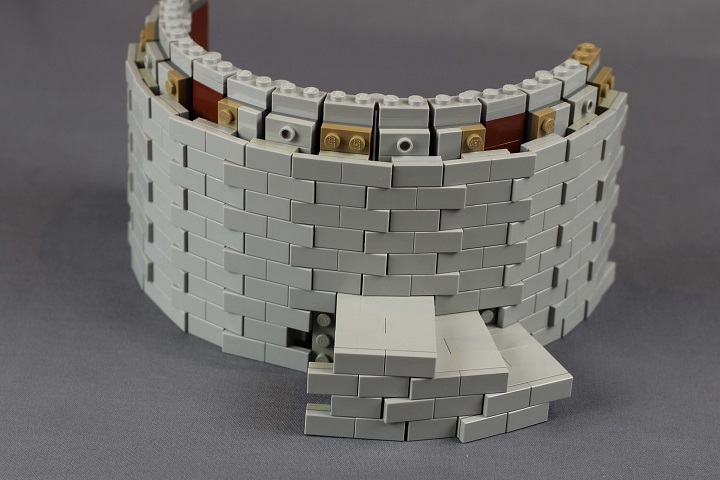
Thanks for sharing that lovely technique!


